
Documentary/street photography
Documentary photography shows us exactly what our world looks like at any given moment in time. Whether the pictures are bleak or playful, they all serve a historically significant purpose. The camera is powerful tool for communicating visual information to others, describing the world in which we all live but cannot wholly see. Street photography is a type of documentary photography that features subjects in candid situations within public places such as streets, parks, and other settings.
Assignment/Criteria
Total number of images: 6
Scan images before you mount them.
Mount and frame your 2 best pictures (16×20 frame size)
Mount the other 4 on white matte-board (14×16)
Print Size: 8×10
Presentation – Thursday, September 29
(work must be ready for presentation, prints carefully mounted and framed)
A few suggestions: look for candid moments, people and their surroundings, reflected surfaces, isolated elements, west texas rodeo, etc.
Grade Criteria
Research 10points: go online and look for some inspiration, photographer’s works, etc.
Concept, Creativity 50points: apply some composition techniques you’ve learned, also, try something different.
Execution/technique 20points: make sure you have well made prints, good contrast and tonal range.
Visual/Verbal Presentation 20points: your prints and matte board must be clean, well cut.
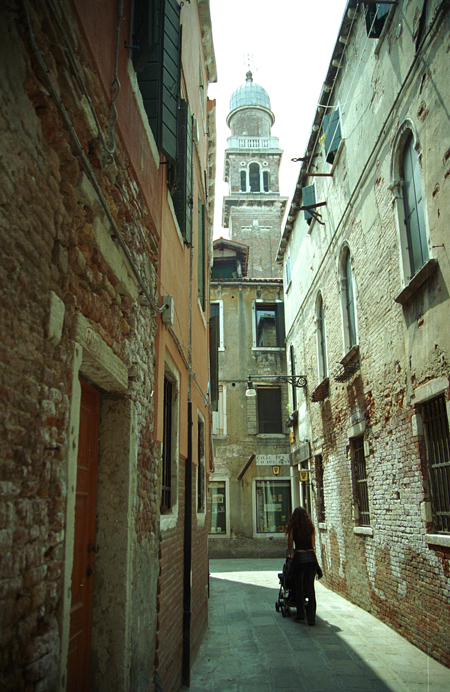
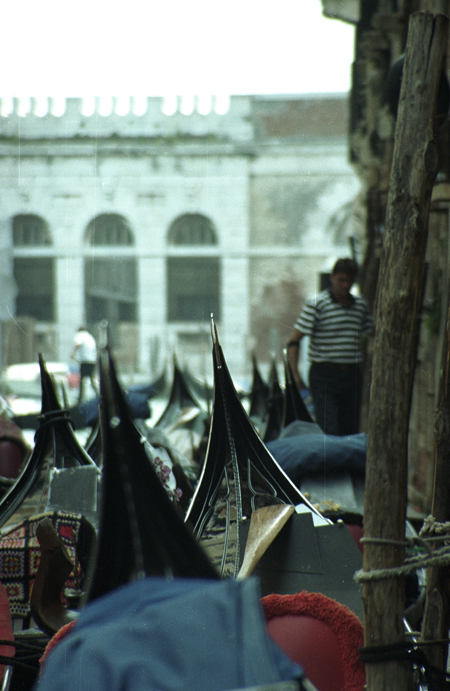
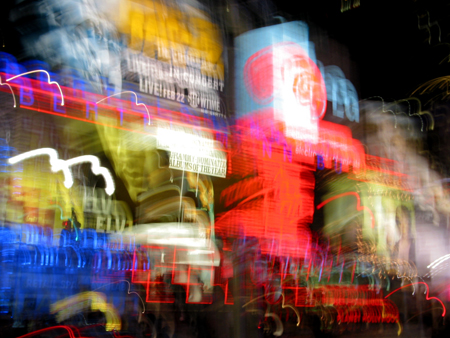
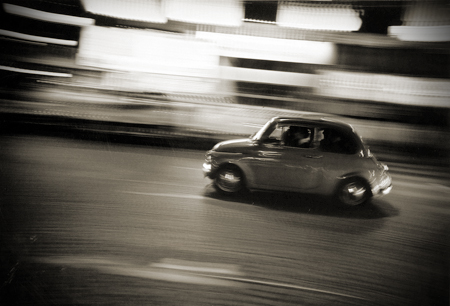
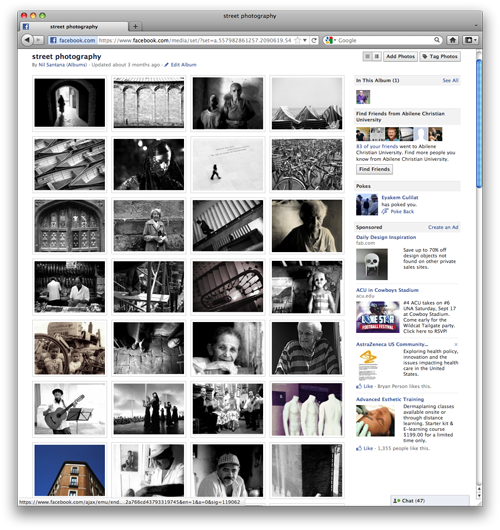
Student Samples

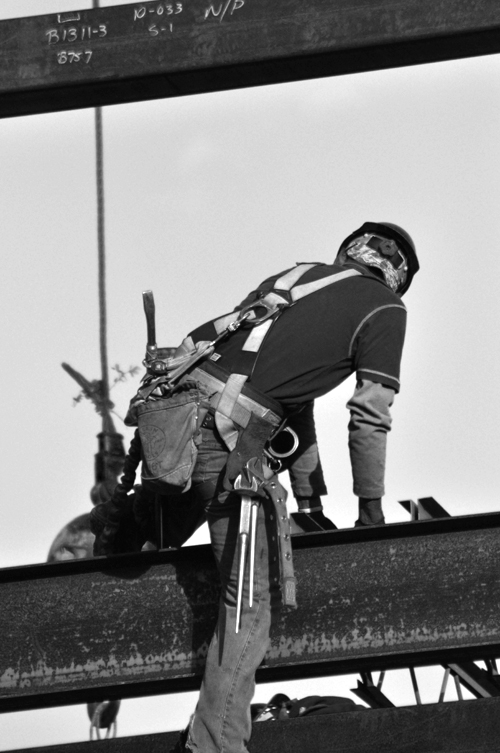
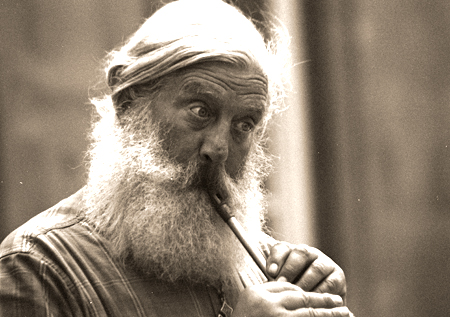
by Andy Munoz
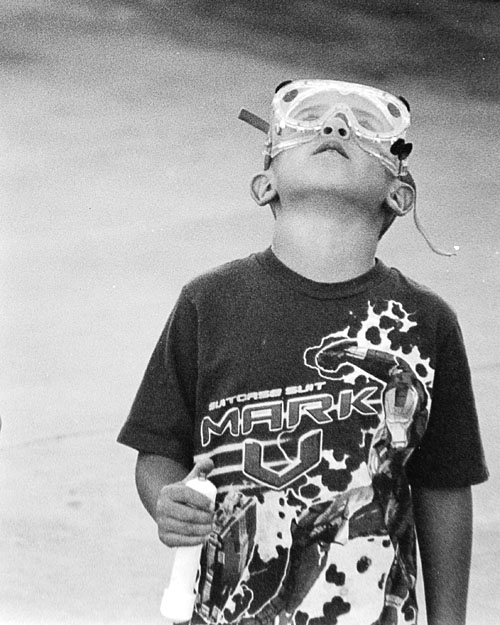
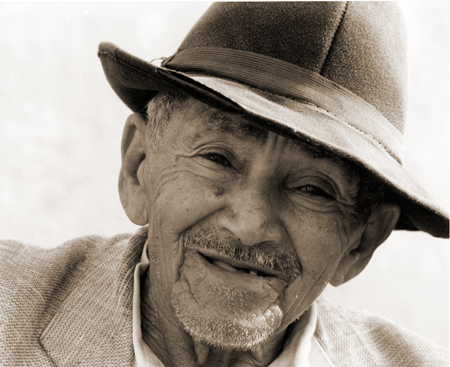
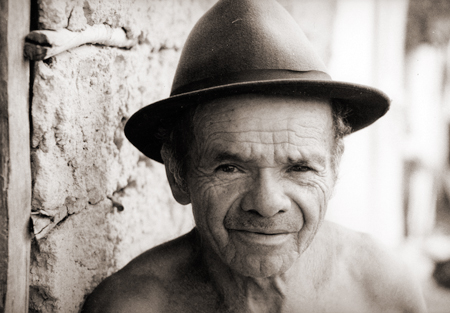
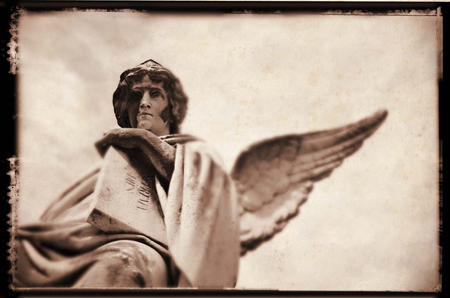
by David Singer
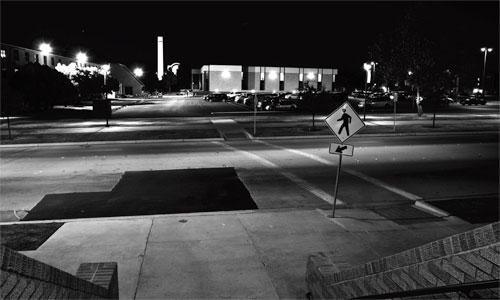
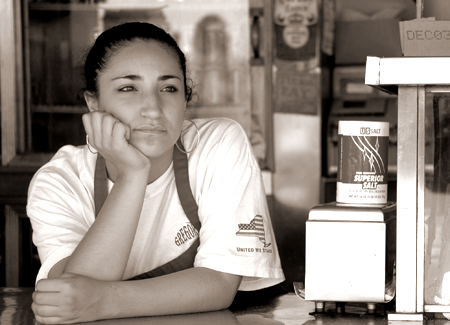
by David Singer
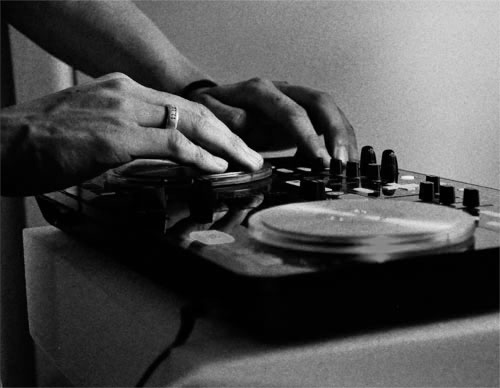
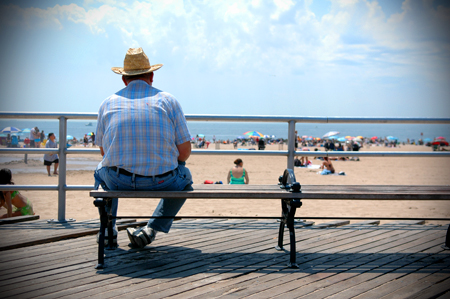
by Andy Munoz
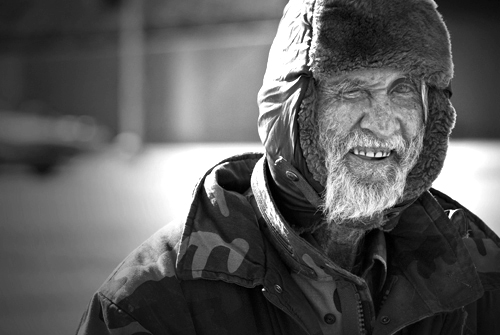
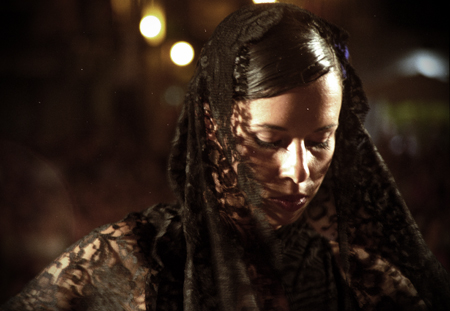
by Britni Tatum
by Con He
Things to keep in mind:
1. Look at the light, and make eye contact.
Light direction will set the tone of the photograph. A side light coming through a window provides a beautiful volume. Explore overcast days as the light is soft, opposed to hard, direct light.
Direct eye contact can be as engaging in a picture as it is in real life. When taking a picture of someone, hold the camera at the person’s eye level to unleash the power of those magnetic gazes and mesmerizing smiles. For children, that means stooping to their level. And your subject need not always stare at the camera. All by itself that eye level angle will create a personal and inviting feeling that pulls you into the picture.
2. Shoot the performers
Street performers are great fun to photograph. They expect that people will take their photo during the performance, so you need not worry about ticking them off. Plus, they’re usually good characters and make for great portraits. Just don’t forget to throw a few bucks their way — they aren’t usually out there for the pure fun of it.
3. Use a plain background
A plain background shows off the subject you are photographing. When you look through the camera viewfinder, force yourself to study the area surrounding your subject. Make sure no poles grow from the head of your favorite friend and that no cars seem to dangle from her ears.
4. Move in close
If your subject is smaller than a car, take a step or two closer before taking the picture and zoom in on your subject. Your goal is to fill the picture area with the subject you are photographing. Up close you can reveal telling details of the whole.
But be careful, make sure you stay within the focus range of your camera. Use the ‘zoom’ feature if you can’t get too close. If you get closer than the closest focusing distance of your camera (see your manual to be sure), your pictures will be blurry.


5. Move it from the middle
Center-stage is a great place for a performer to be. However, the middle of your picture is not the best place for your subject. Bring your picture to life by simply moving your subject away from the middle of your picture. Use rule of thirds!
You’ll need to lock the focus if you have an auto-focus camera because most of them focus on whatever is in the center of the viewfinder.


6. Take some vertical pictures
Is your camera vertically challenged? It is if you never turn it sideways to take a vertical picture. All sorts of things look better in a vertical picture, from the Eiffel Tower to streets of Venice. So next time out, make a conscious effort to turn your camera sideways and take some vertical pictures.
7. Experiment!
Sometimes the best pictures are the ones we take by mistake. Experiment with your camera, move it while taking a picture, use slow speed, place it in front of glass, plastic, etc.
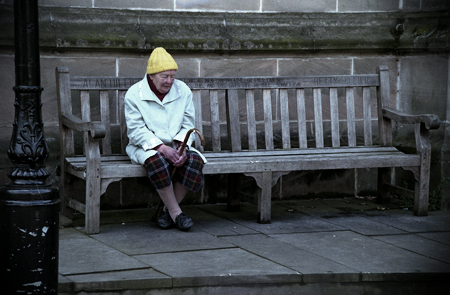
8. Watch the benches
The hard part of catching a candid portrait is that people are moving, things are passing in front of your view, and your window of opportunity passes quickly. People generally sit on benches, which means they’re not moving around too much and they might be there for more than 5 seconds. Look for the subjects that are focused on some task, such as feeding birds or reading a paper.
9. Dare to go diagonal
Don’t just hold your camera horizontally – experiment with angles. Street photography is a less formal medium – make the most of it.
10. Use what you have
“Your best camera is the one you have with you.”
Digital Photography is available anywhere, anytime today, as cameras are incorporated into phones, mobile devices, tablets, etc. You don’t need to carry heavy gears with you (lenses and camera bodies), a point-and-shoot camera can be as effective as expensive DLSRs. Edit your photos, or sometimes it is fun to use built-in filters.
Share your photos
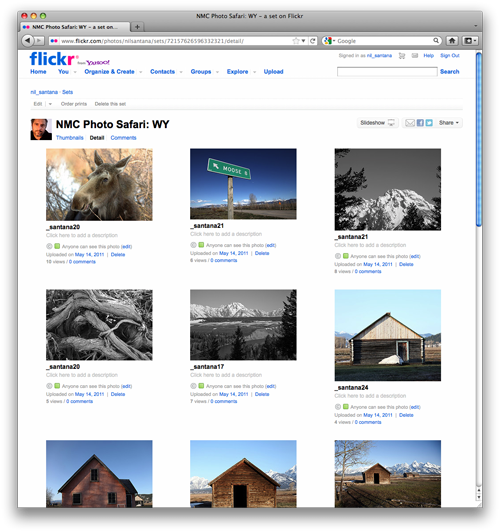
Flickr
Blogs (David Singer – Spring ’11)

Make your own photography book!

Create your own book from online services like Blurb.com. It’s very easy to have your photos published, and a great way to keep those photographic moments organized.
For more tips & information: www.kodak.com
Great StreetPhotography resource, for inspiration: www.seconds2real.com
Add a Comment
You must be logged in to post a comment.