Overview
In today’s society, more and more children attend some form of preschool or child care before they begin their formal education, which is typically marked by kindergarten. Preschool and kindergarten place much significance on children’s play as a critical developmental tool. (The concept of kindergarten, “child’s garden,” originated in Germany by Fredrich Froebel. This project requires each student to develop a design concept for a single preschool classroom that accommodates 20 three- to five-year-olds. The space needs to facilitate a variety of small group and individual activities, including block-building, sociodramatic play, art, music, science, math, manipulatives (puzzles and games) and quiet reading and writing. These activity areas should be clearly defined by the spatial arrangement and clear pathways need to be provided for children to move from area to area with minimal distraction. Of course, the design needs to meet the needs of children (esp. when considering equipment, furniture and finishes) while providing an inviting and fun learning environment.
Assignment
Part 1: Research
Begin the project by learning about designing for children. In addition to considering the size of your client, which dictates certain dimensional criteria, we also need to consider the effect of color, types of spaces/zones needed and their adjacencies, circulation/pathways, surfaces and storage needs. I have provided a list of resources below to get you started, but please do not feel limited to this list.
Part 2: Observe and Interview
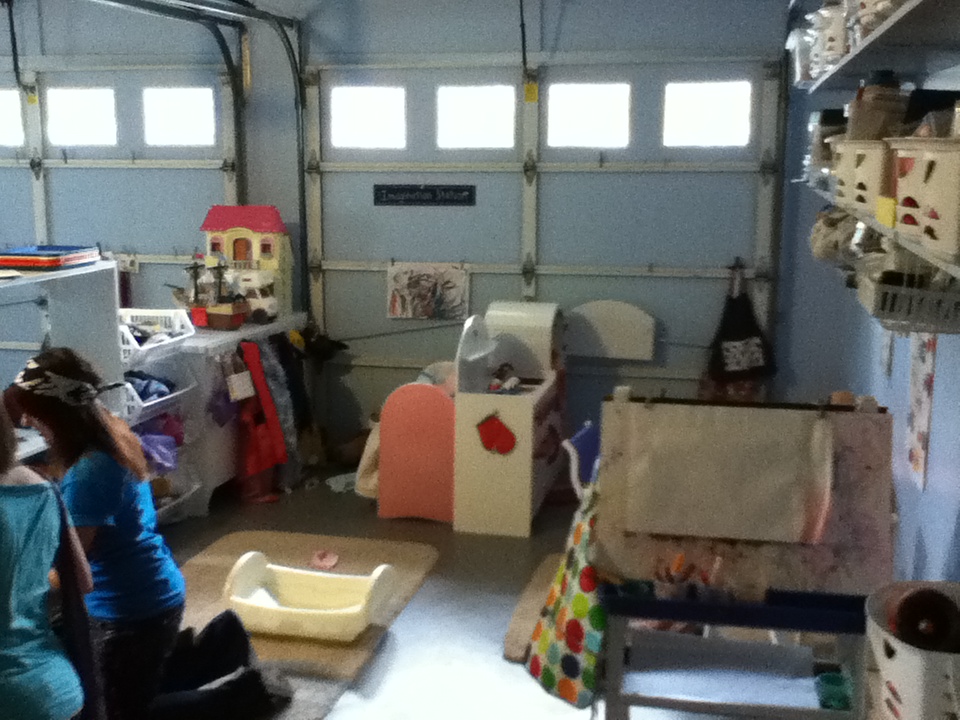
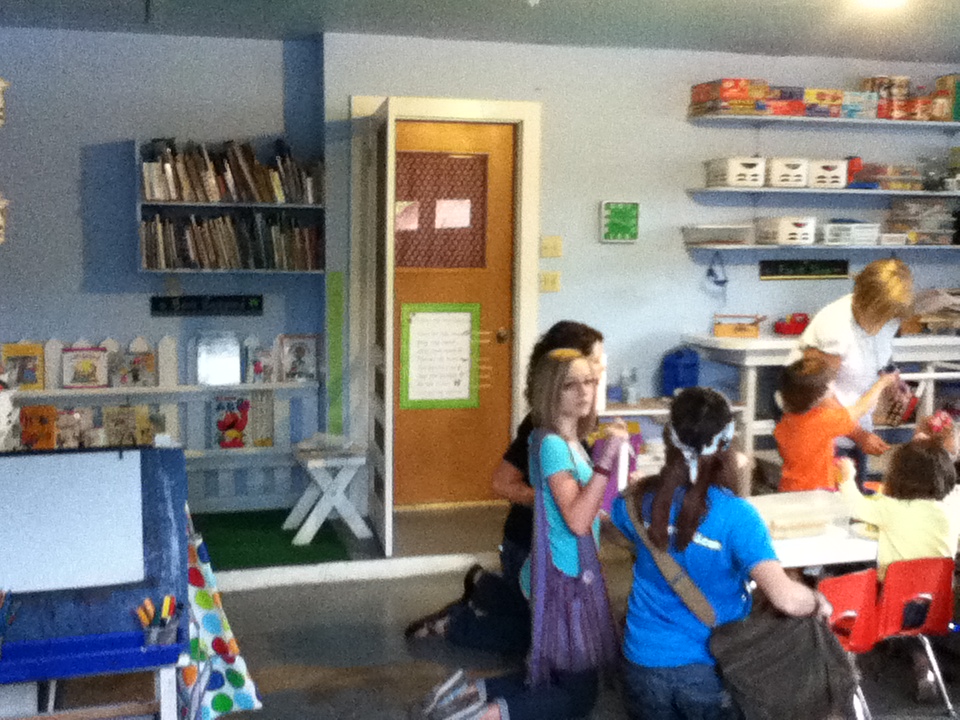
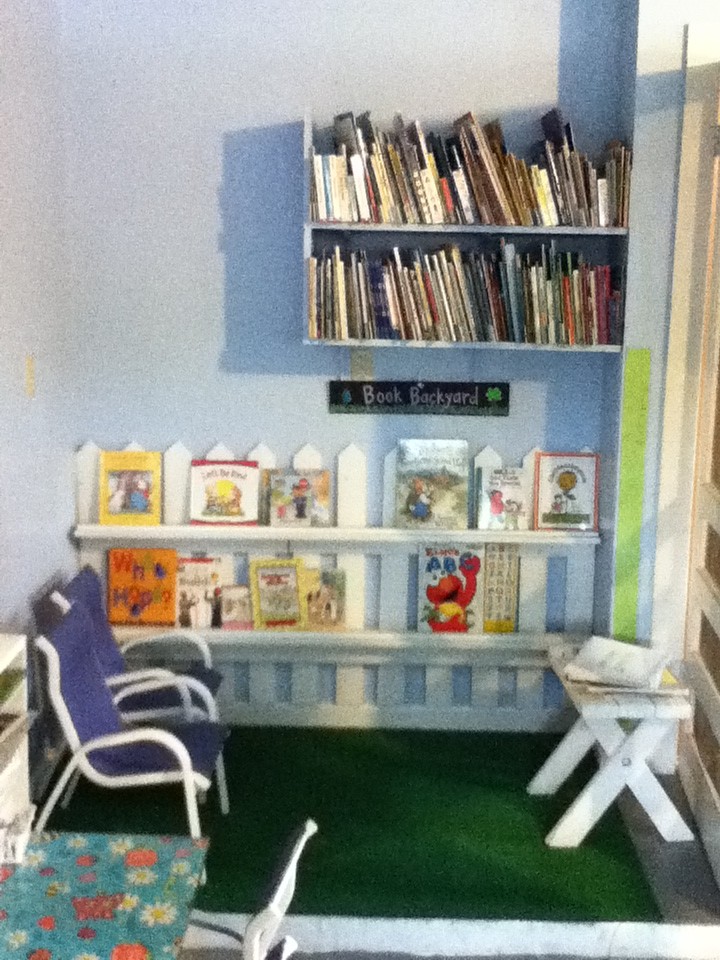
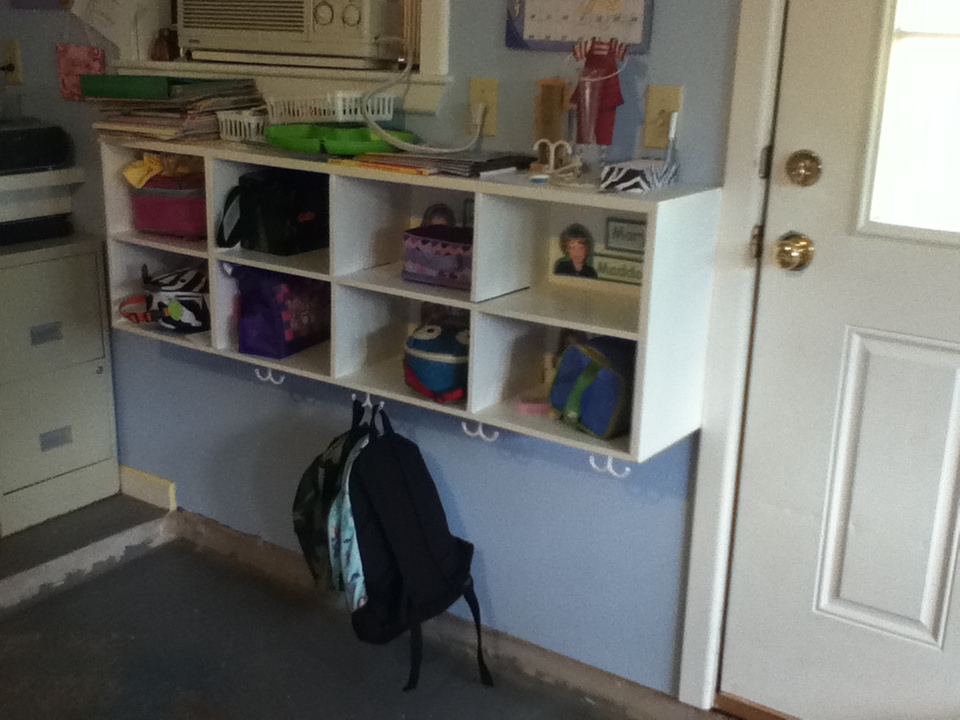
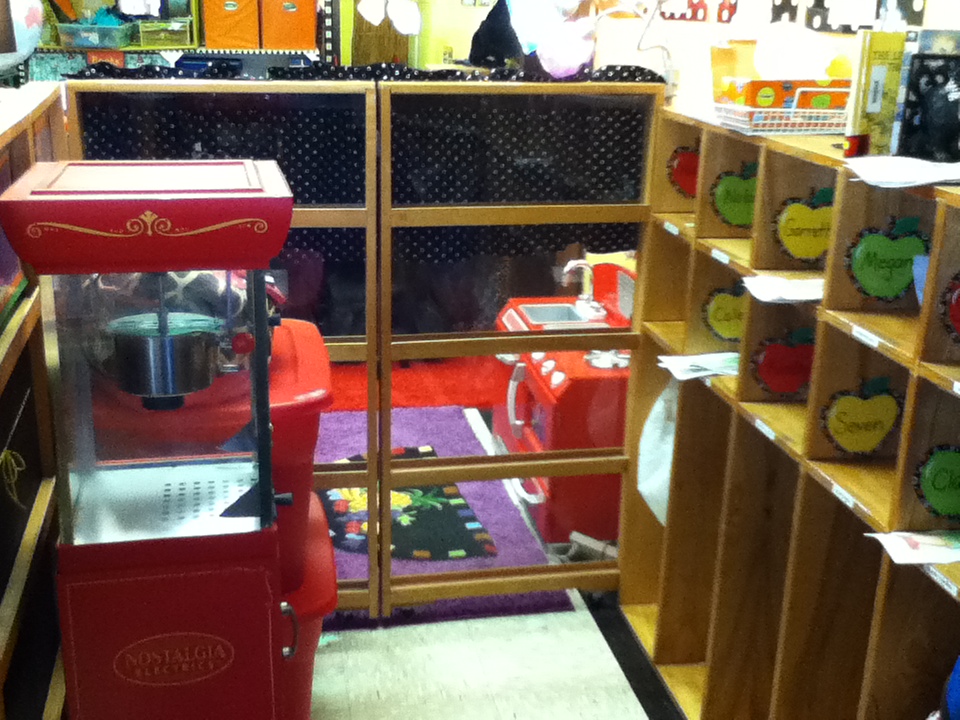
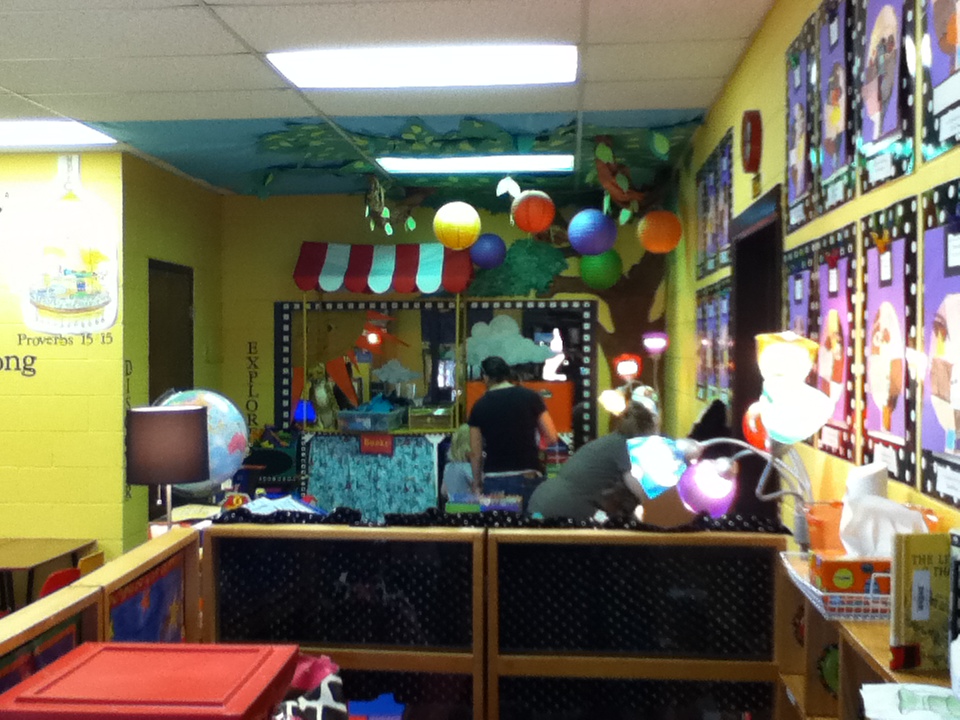
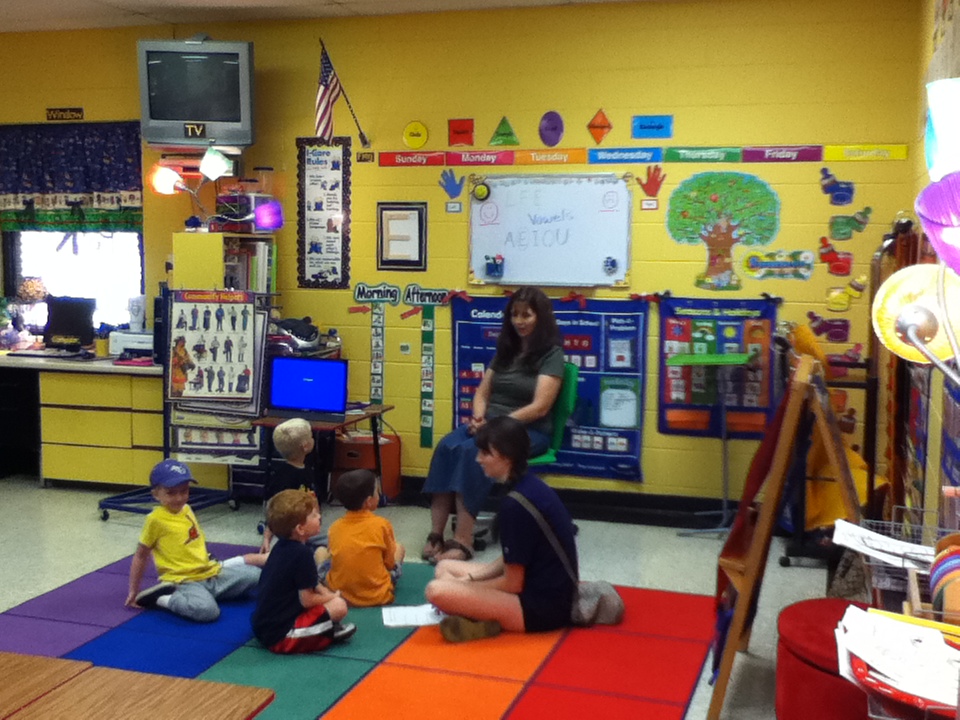
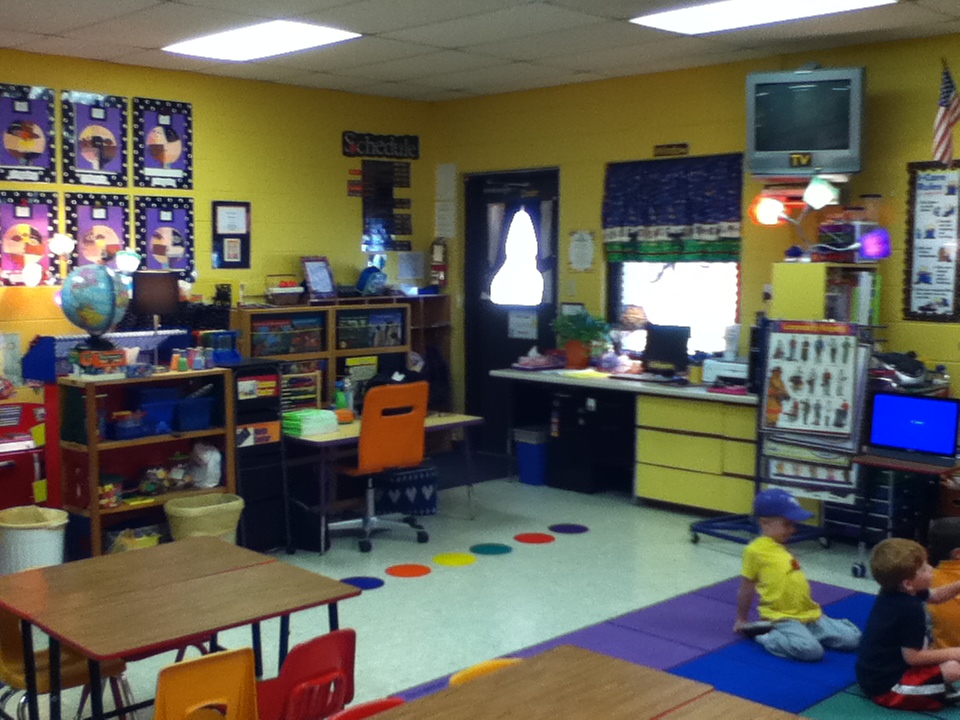
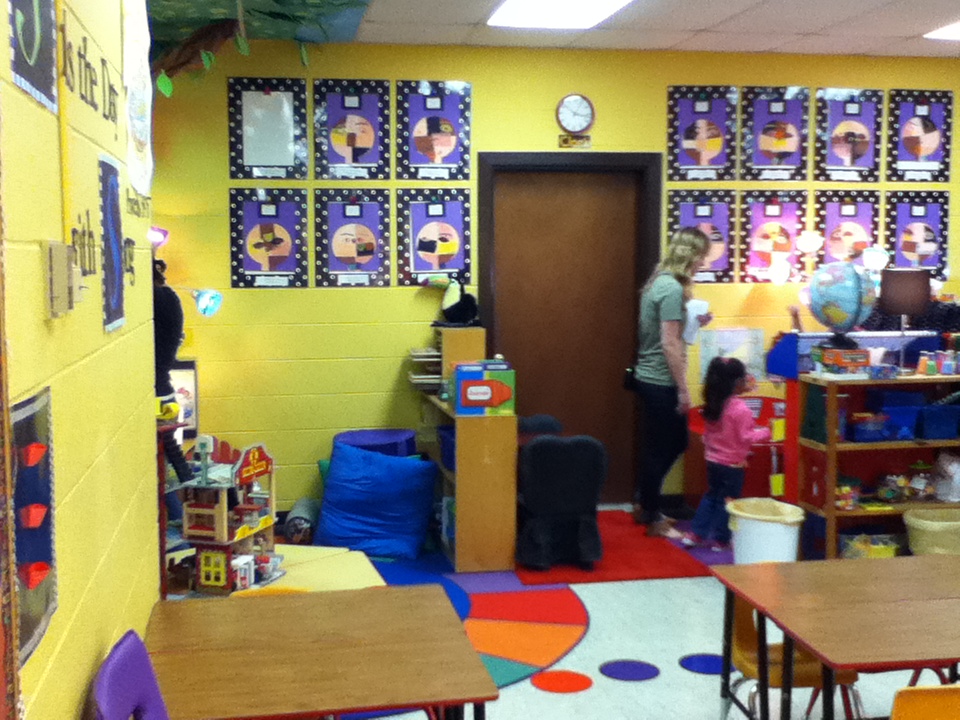
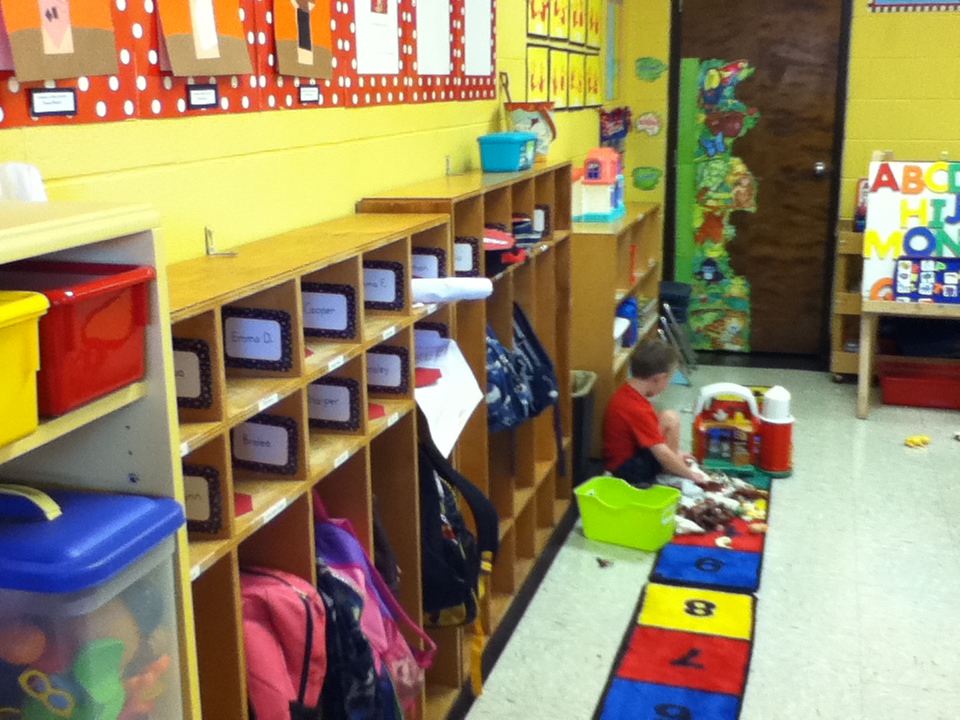
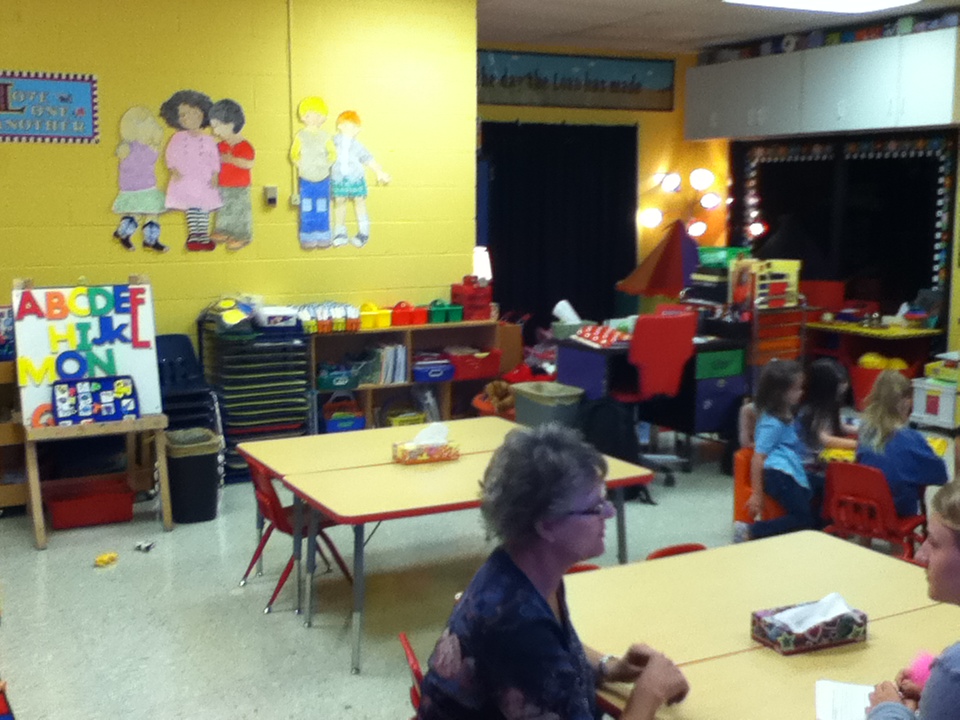
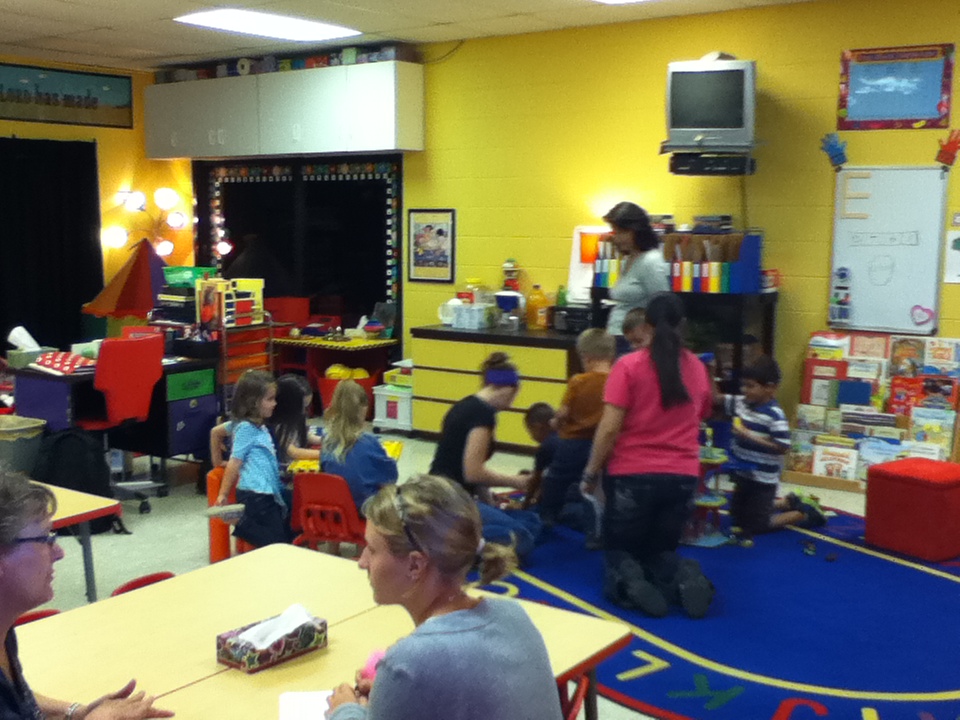
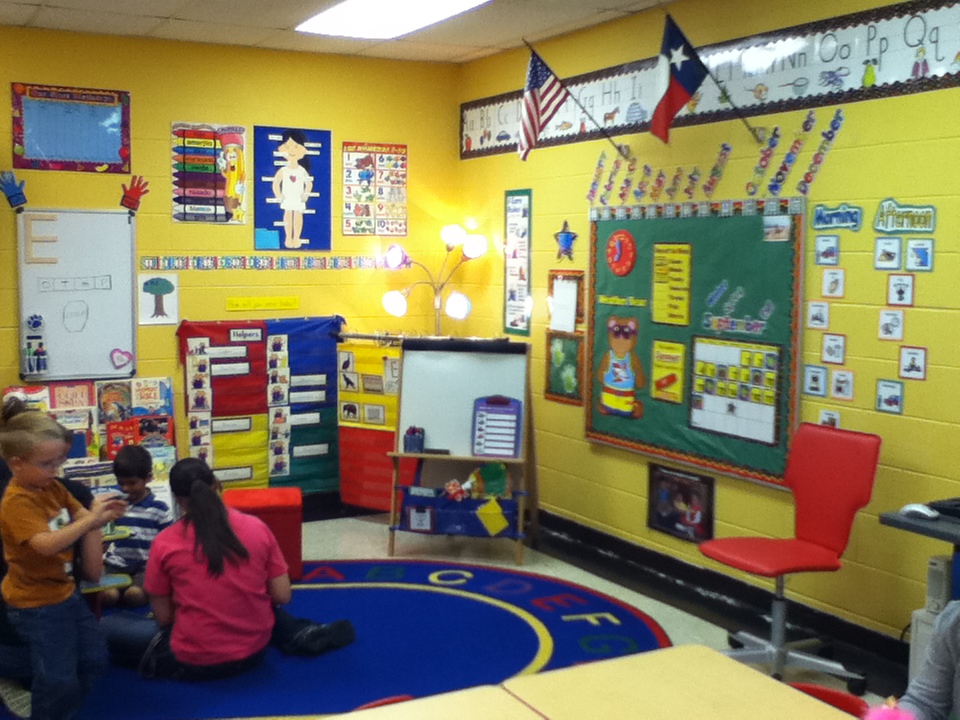
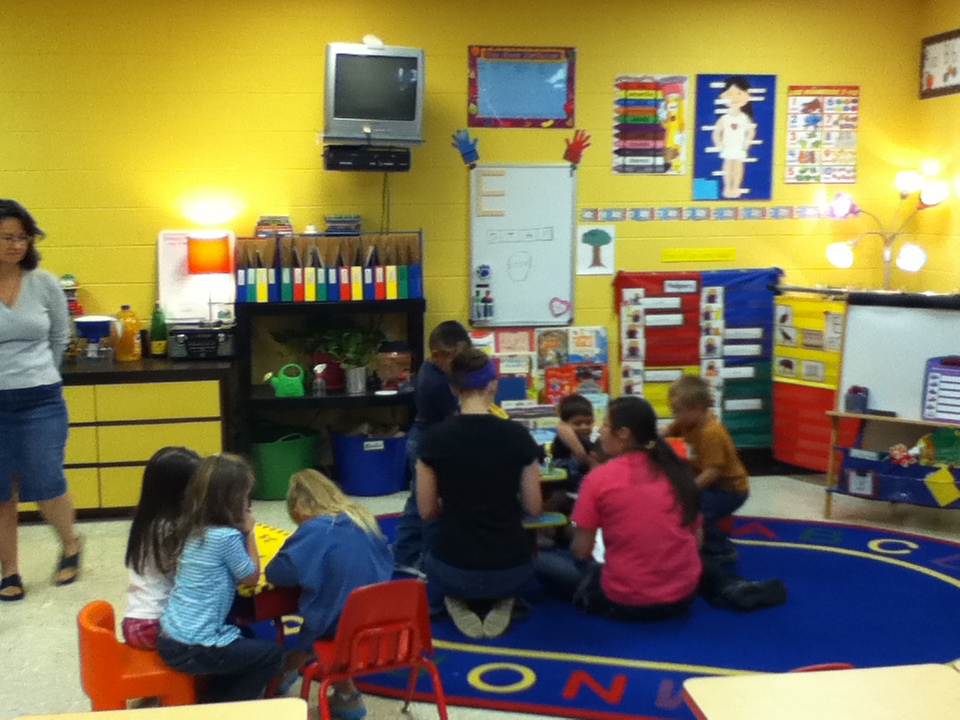
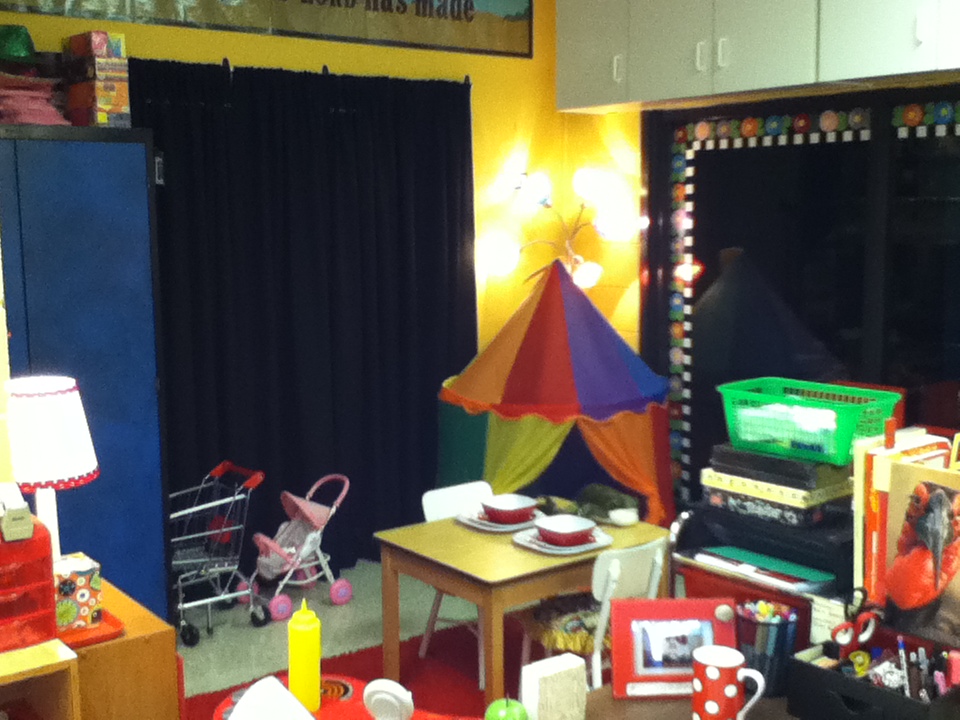
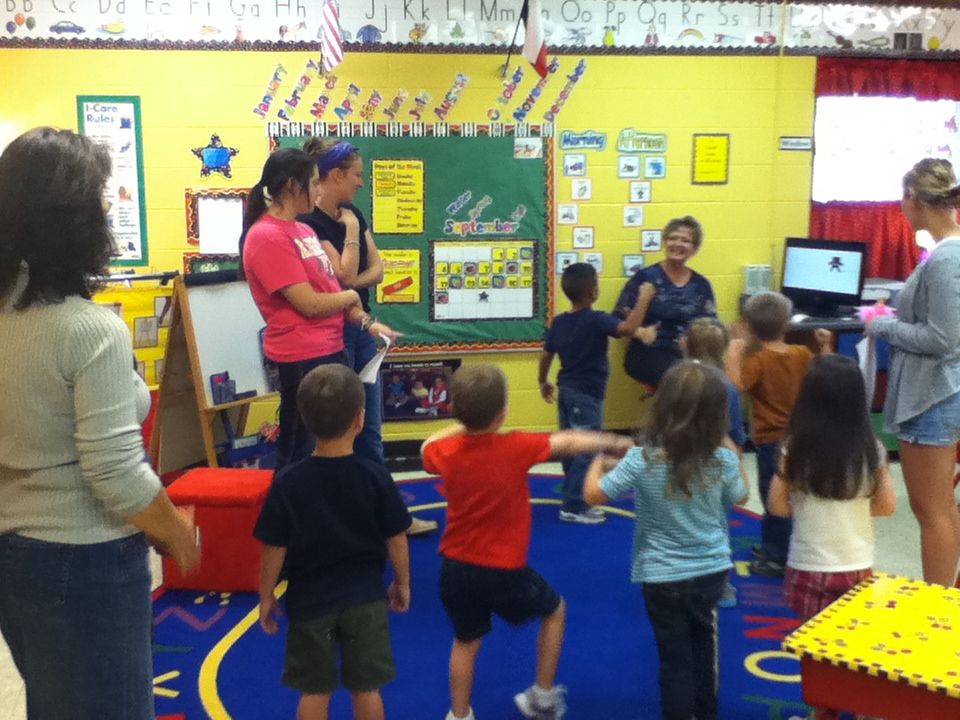
This step is a continuation of the first and will provide first-hand experience of a pre-k classroom environment. Our class will visit Abilene Christian School’s preschool classes providing you the opportunity to see examples of preschool classrooms, observe the children and teachers using the space and talk with them about their likes and dislikes. Click here for the questionnaire.
Part 3: Design an Environment for Children
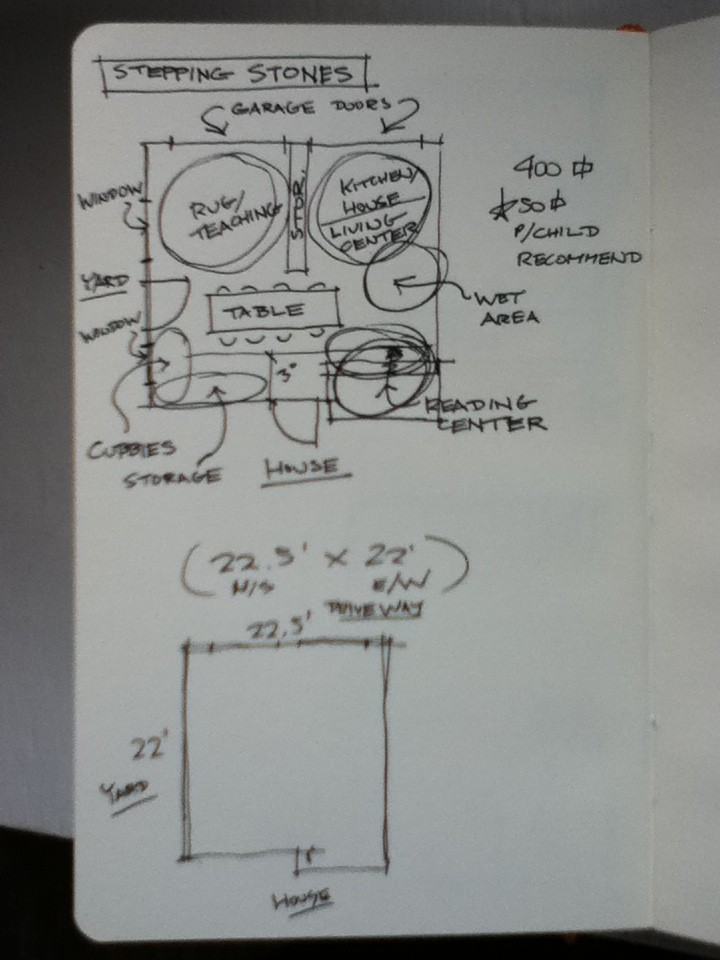
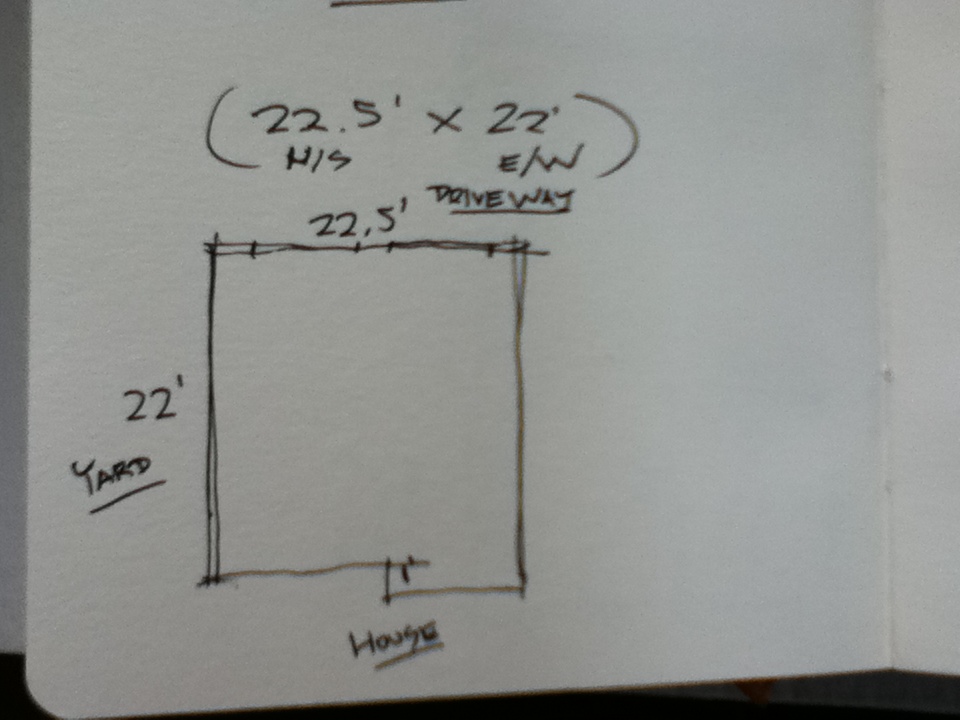
Using the drawings provided, design an environment for a preschool classroom (20 three- to five-year-olds) taking into consideration insight gained from the observation and interviews. The design should strive to meet the following goals:
- Visually rich, fun and surprising
- Provide spaces and surfaces for display of children’s work
- Provide a variety of settings for work-in-progress
- Introduce a variety of social setting for small and large groups
- Make strong connections between the indoors and outdoors (use daylighting as much as possible)
- Connect spaces to promote communication, orientation and flexible programming and staffing
- Build in flexibility of space to accommodate evolving teaching practices
- Create a distinctive and pleasing entrance
- Eliminate physical barriers and isolation
- Pay special attention to the scale and height of typical elements such as windows, doors, doorknobs and pulls, sinks, toilets, counters, furnishings, mirrors, steps, shelving and storage, light switches, towel dispensers and other accessories (anthropometrics for children)
The design should include spaces that accommodate the following activities:
- Group Instruction
- Group Reading
- Wet Area (for projects/art)
- Small Group Area
- Work Area for Teacher
- Storage
- Restroom
Process:
- Sketches: 30 sketches (minimum)
- Reading (selections from the following):
- Writing:
Final Deliverables
Presentation Materials:
- 18″ x 24″ Drawing Sheet (vellum or quality drawing paper)
- Furnished floor plan @ 1/4″ = 1′-0″ scale (include electrical symbols and legend)
- Elevations of all walls @ 1/4″ = 1′-0″ scale (10’ max. ceiling height)
- 18″ x 24″ Finish Board (foam core)
- Include all finishes, materials and colors
- Design concept narrative (detail the implementation of color, choice and convertibility)
- Include Title Block on each sheet/board that includes (hand lettered on drawing sheets)
- Preschool Classroom
- Your name
- DSGN 242
- Fall 2011
- Sheet number (1, 1 of 2, 1/2, etc.)
Process Documentation:
Neatly organize the following process documents in a report binder or folder with your name on it.
- Photocopies of all sketches/process drawings
- Completed interview questionnaire
Schedule + Deadline
- Fri., Sept 16: Project 2 assigned, introduction to designing for children
- Mon., Sept 19: No Class – Attend Summit and Post to Blog
- Wed., Sept 21: Observe and interview children and teachers at Abilene Christian School
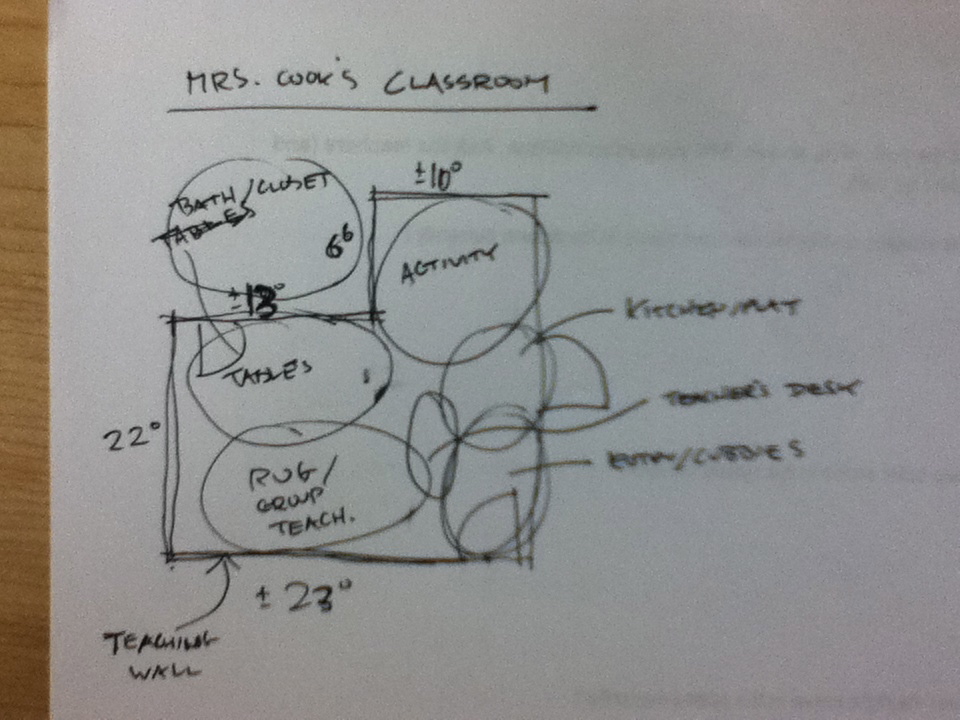
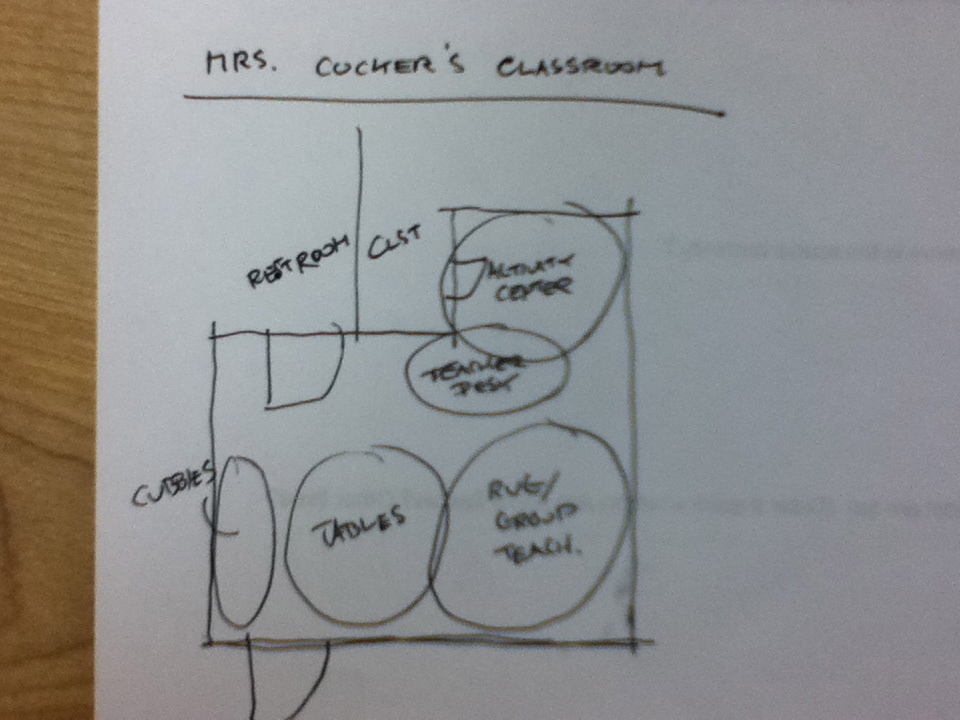
- Fri., Sept 23: Ideation, bubble diagrams, design concept development
- Mon., Sept 26: Design concept development
- Wed., Sept 28: Furnished floor plan due (can be on trace) – Group critique @ beginning of class, identify material and color and concepts
- Fri., Sept 30: No Class
- Mon., Oct 3: Elevations
- Wed., Oct 5: Elevations, finish selections formalized
- Fri., Oct 7: Elevations due (can be on trace), Work on presentation drawings + materials
- Mon., Oct 10: Design process and conclusions statement due (post to blog), Work on presentation drawings + materials
- Wed., Oct 12: Project due at the beginning of class – Final Critique
Link to Grading Criteria
Resources
- Pre-K Observation and Interviews
- ACS Photos
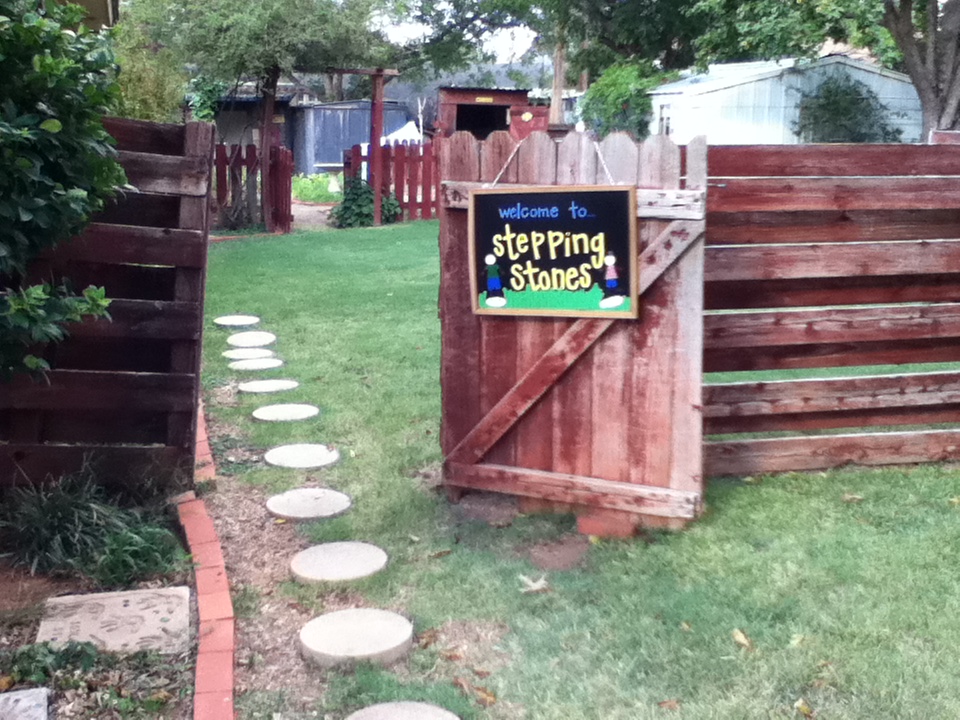
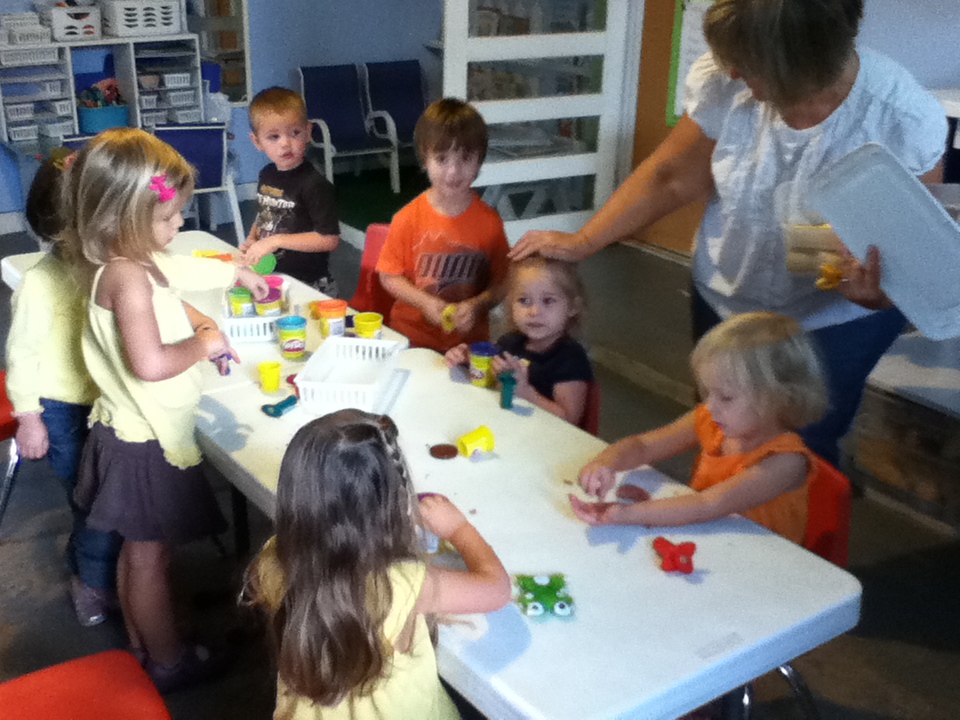
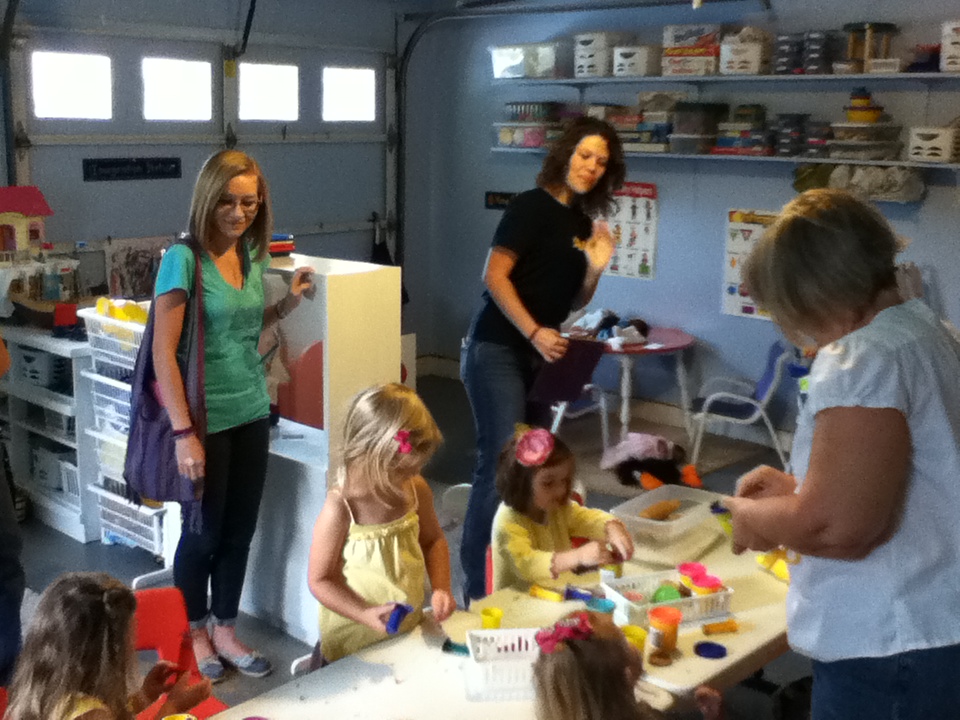
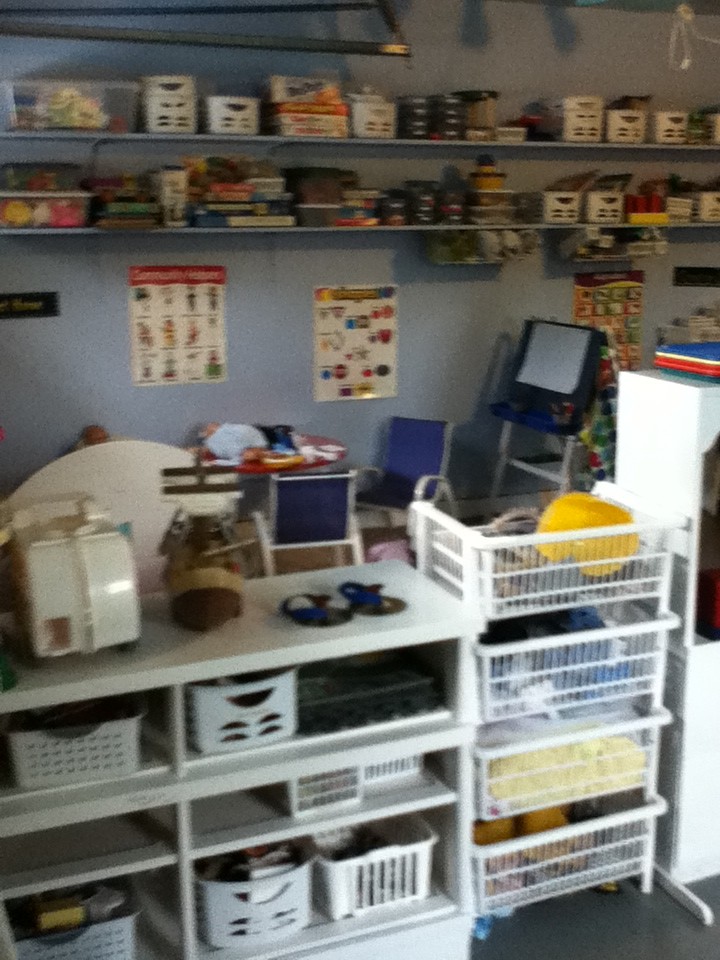
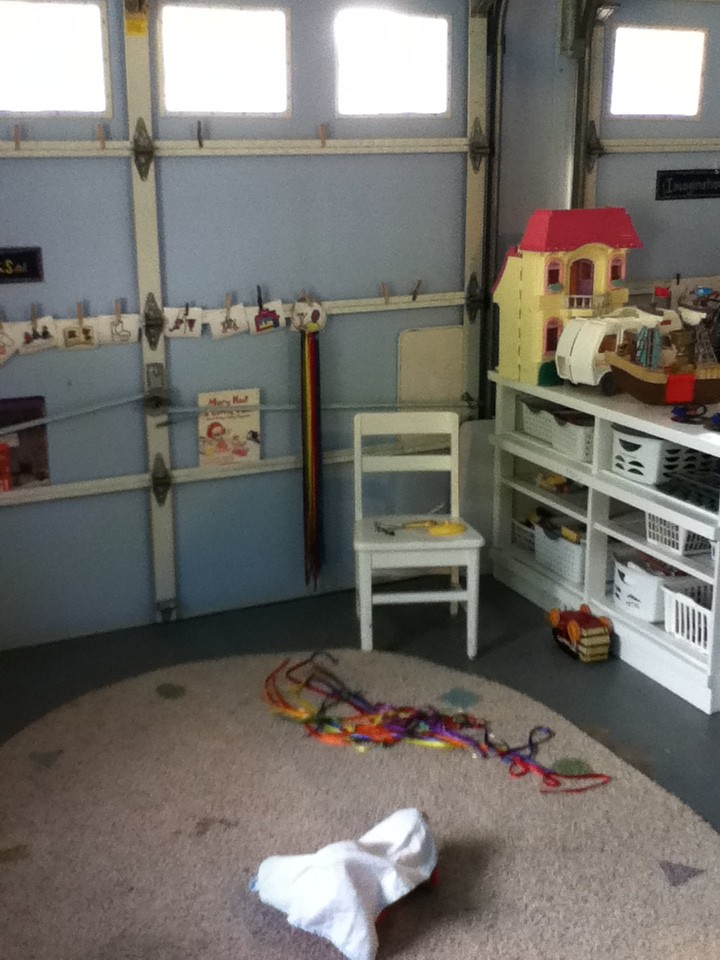
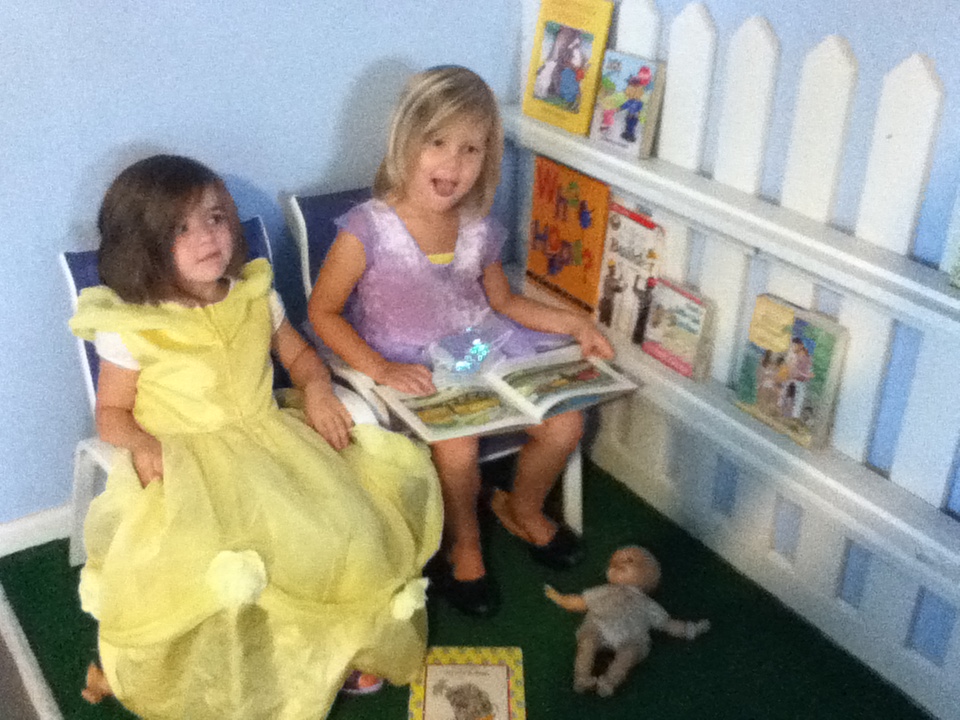
- Stepping Stones Photos
- Child Care Centers (from Architectural Graphic Standards)
- Furniture and Plan Equipment for Child Development Centers (from AGS)
- Accessibility section from Interior Graphic Standards
- Bredekamp, S.C. Copple. Developmentally Appropriate Practice for Early Childhood Programs
- Ching, Francis. Interior Design Illustrated,Wiley.
- pgs. 52+ (User Requirements – Activity)
- pg. 72 (Relationships)
- Plan arrangements
- Erickson’s Psychological Development Stages
- Henry Dreyfuss Associates. Measure of Man and Woman, Wiley
- Better Homes and Gardens. Childstyle, Meredith Books
- Jordan, Wendy. The Kidspace Idea Book, Taunton Press
- Logrippo, Ro. In My World: Designing and Living and Learning Environment for Children.
- Piaget’s Cognitive Development Theory
- Ruth, Linda Cain. Design Standards for Children’s Environments, McGraw Hill
- Torrice, Antonio. Logrippo, Ro. In My Room: Design with and for Children.