Stage 1

Stage 1

A professional video studio for advanced projects.
Request Stage 1

Where is Stage 1?

Stage 1 is located through the Media Lab at the front of the Learning Studio, on the top floor of Brown Library.

What to Expect

Filming in Stage 1

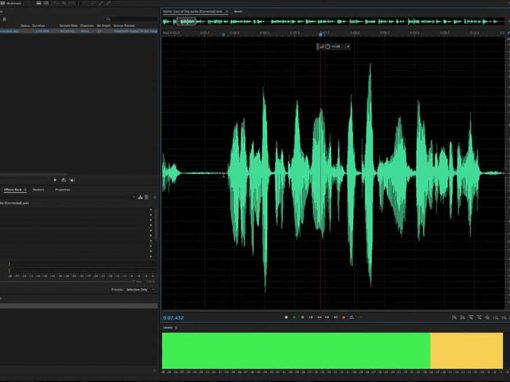
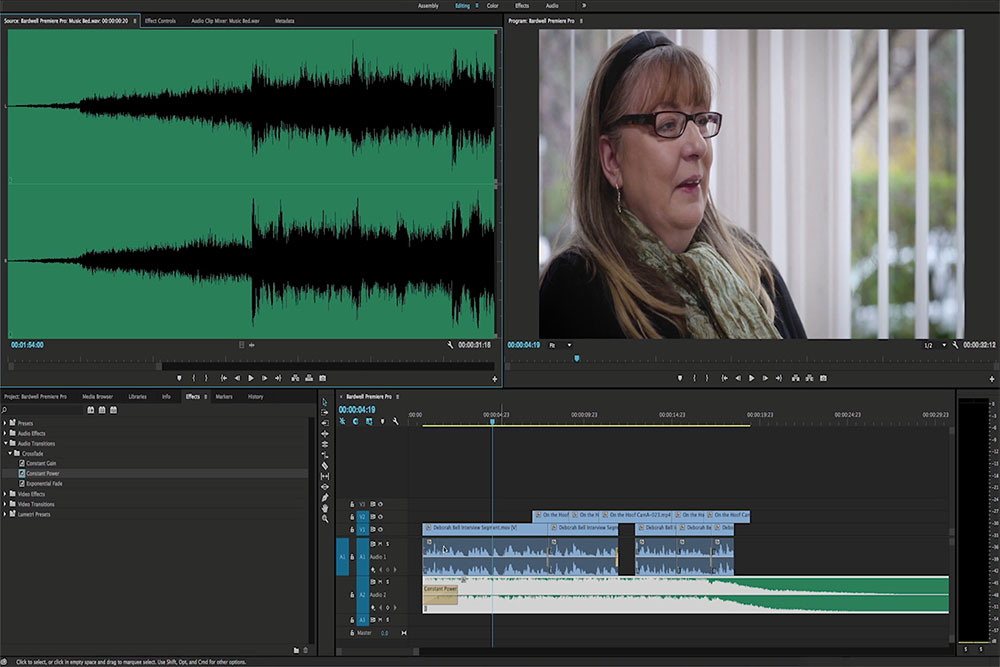
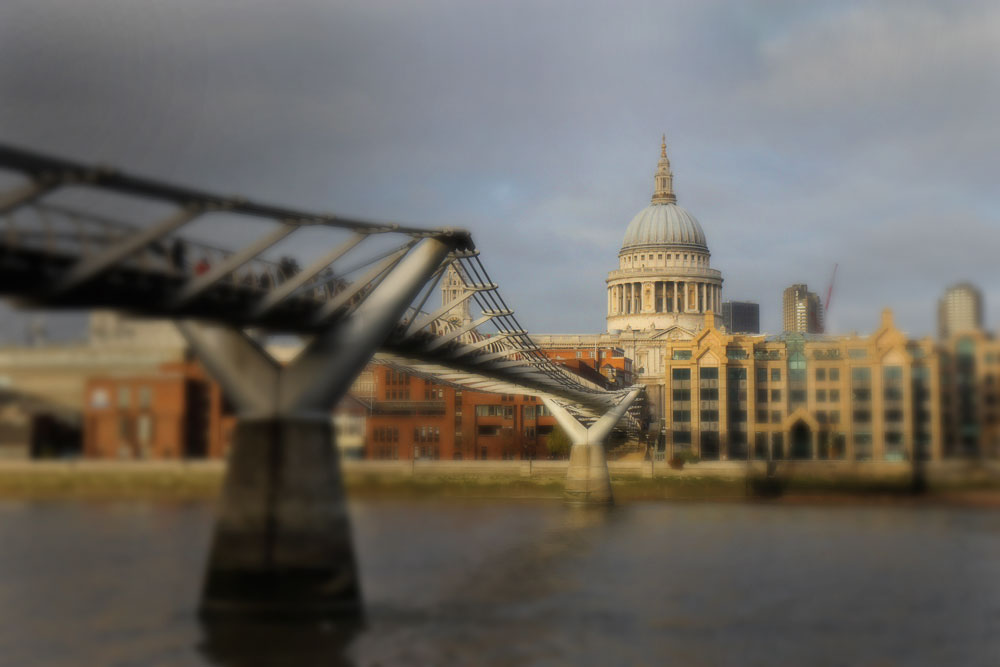
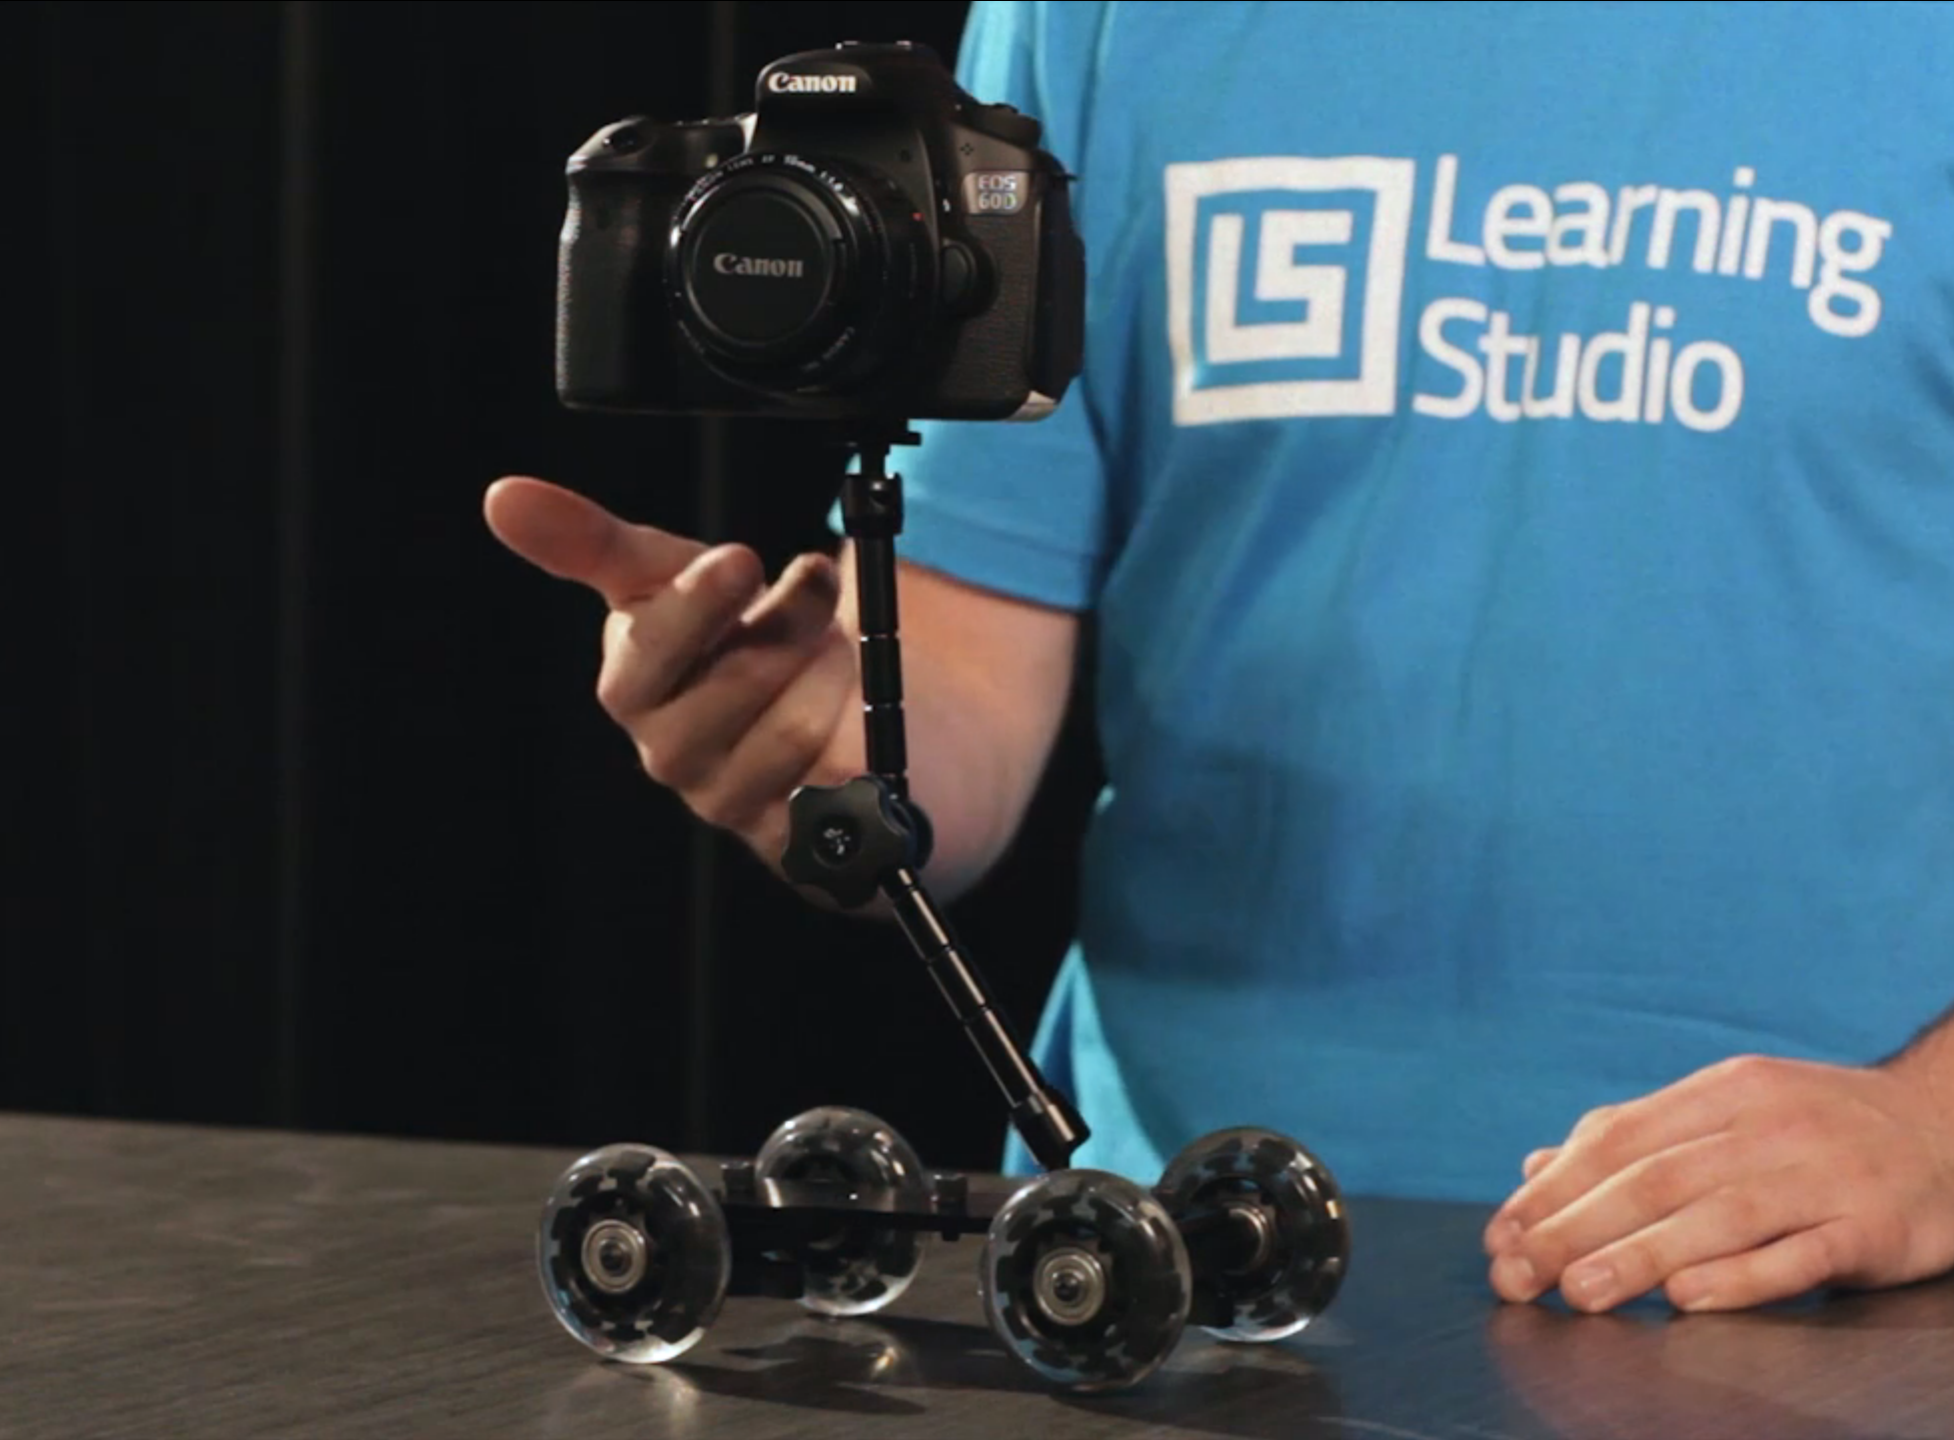
Stage 1 offers a professional filming environment and a range of industry-standard tools to add flexibility and production value to your finished project. It features professional sound isolation and DMX-controlled studio lights, with a 30-foot wraparound infinity wall and three optional stage curtains.

Before your appointment, a member of the Learning Studio’s staff may request a 15-minute introductory meeting to get you comfortable with the space and answer any questions.

Because Stage 1 is highly customizable, please allow time for us to approve your reservation and prepare the space for you.

Once you’ve completed your reservation request, a member of our team will get in touch within 48 hours to discuss your needs.

Request a Reservation

Please complete the reservation request form, and allow 48 hours for us to respond.

Stage 1 Reservation Request

[gravityform id=”2″ title=”false” description=”false”]

Storytelling with Premiere Pro

PremiereIcon

Download Premiere Pro

Don’t have Premiere Pro on your computer?

All Adobe CC titles are now available to ACU students, faculty and staff.

VIDEO TUTORIALS  /  DIGITAL STORYTELLING

Digital Storytelling: Premiere Pro

Premiere Pro is an advanced video editor that can also be used for basic digital storytelling. Though most video software can combine images, audio and video for a basic video project, Premiere Pro is a robust media production tool that can support more complex projects in the future.

The following resources introduce not only software considerations but the basics of audio recording and image editing, whether you’re producing your first digital story or needing a quick review.

Project Files

Click here to download the project files used in this tutorial.

Asia-circle200

Mathew Bardwell

Media Production Specialist, Learning Studio

LS

Next Steps with Premiere Pro

Now that you’re comfortable with basic editing, here are a few tips for working with audio and images.

Recording Audio in Premiere Pro

One key part of your digital story is a carefully recorded narration. Here is a short introduction to recording audio directly into your Premiere project.

Adding Movement to Images in Premiere Pro

Adding movement to your images makes your storytelling more dynamic. Take your project to the next level using the steps in this video.

z

Working with Audio

Audio is a commonly overlooked part of a video project. In this short segment, you’ll hear how clear audio can amplify your digital story.

Working with Images

Carefully chosen images can add impact to any digital story. In this segment, we’ll walk through key considerations in which pictures and video clips you choose.

Keep learning with LinkedIn Learning

Premiere Pro: Essential Training

Let LinkedIn Learning help you build skills in basic audio and video editing with Premiere, including working with effects and video speeds.

Premiere Pro 2015 Update

A quick summary of new features and improvements to the new Premiere CC, including the new Morph Cut and mobile workflows with the Premiere Clip app.

Storytelling with Camtasia

CamtasiaIcon

Download Camtasia

Don’t have Camtasia on your computer? Drop by the Learning Studio or download a free 30-day trial.

VIDEO TUTORIALS  /  DIGITAL STORYTELLING

Storytelling with Camtasia

Camtasia is a piece of software that can turn anything you can see on screen into a video. Yet this “screen capture” program is also a perfect tool for learning to work with media. Whether you’re a first-time video editor or are just pulling together something quickly, Camtasia is an easy way to combine images, audio and video into a professional looking project.

The following resources introduce not only software considerations but the basics of audio recording and image editing, whether you’re producing your first digital story or needing a quick review.

Project Files

Click here to download the project files used in this tutorial.


Asia-circle200

Asia Eidson

Media Specialist, Learning Studio

CamtasiaButton

Camtasia Resources

If you’d like more help editing your Camtasia project, here are some great video tutorials for beginning and advanced users.

We’ve also put together answers to some frequently asked questions to help setting up a mic or exporting your project.

z

Working with Audio

Audio is a commonly overlooked part of a video project. In this short segment, you’ll hear how clear audio can amplify your digital story.

Working with Images

Carefully chosen images can add impact to any digital story. In this segment, we’ll walk through key considerations in which pictures and video clips you choose.

Camtasia is available in the Learning Studio

Ask at the front desk if you need help getting started.

What else can Camtasia do?

Camtasia is capable of much more than just editing a digital story.

Screen Capture

Camtasia was designed to “record” the computer screen for video tutorials like this one. It offers tools like zooming and highlighting to focus the attention of your audience.

PowerPoint Videos

Screen capture is also a simple way to turn a PowerPoint into a short video. It’s as easy as recording your audio narration as you step through your slides.

Film Clips

Camtasia is also the fastest way to digitize a video clip from a DVD or website. Just find the scene you want to capture, and begin recording the video on screen.

Keep learning with LinkedIn Learning

Camtasia 3 for Mac Essential Training

A quick introduction to screen capture and basic video editing and effects using the new version of Camtasia for Mac.

Camtasia: Advanced Techniques

A course focused on using the tools in Camtasia for high-quality instructional videos. Produced on Camtasia for PC but the core tools and the strategies are the same.

Lightboard

Lightboard at ACU

Teaching in an online or blended environment can make it difficult to introduce complex ideas without losing the familiar connectedness of the face-to-face classroom. To help bridge this gap and let faculty build on the comfort of presenting ideas visually on a board, the Learning Studio introduced the Lightboard to the ACU campus in a pilot in Spring 2015.

How It Works

The Lightboard allows faculty to intuitively produce short videos that introduce key concepts visually as they speak directly to a camera. LEDs illuminate a thick pane of tempered glass between the teacher and the camera, and the teacher writes directly on the glass with neon markers to illustrate points and concepts as they talk.


The Lightboard was designed by Michael Peshkin at Northwestern University and updated with improvements from teams at Duke, Notre Dame, and schools around the country. The following examples illustrate a few of the ways the lightboard supports presentations in different fields.

Schedule a reservation to use the Lightboard

Introducing Photoshop

PS_AppIcon

Get Photoshop

All Adobe CC programs are available free to ACU students, faculty and staff.

VIDEO TUTORIALS  /  BOOT CAMP

Introducing Photoshop

Photoshop is by far the most popular and powerful photo editing software on the market, but if you’re just encountering it for the first time, it can seem pretty daunting. Mike Wiggins guides first-time users through this complex program in a way that anyone can follow with no prior experience. By the end of this course, you’ll have the resources you need to find your way around and perform basic editing techniques on photos and simple design projects.

Mike Wiggins

Mike Wiggins

Professor, Art & Design

Mike Wiggins is a professional graphic designer and chair of the Art and Design department at Abilene Christian University.

TUTORIAL #1

Manipulating Your Image

In this lesson, you’ll learn to work with layers in Photoshop and manipulate images using the Hue/Saturation dialog. You’ll also selectively blur parts of your image with the Gaussian Blur effect and Photoshop’s Eraser Tool. Last, you’ll create a simple vignette with the Brush Tool.

Watch the video above, then download the Photoshop file.

Skills Challenge #1

Complete the following challenge to apply the skills you’ve just learned in a project.

Time: 10-15 minutes

TUTORIAL #2


Working With Text

In the second lesson, you’ll learn to work with Photoshop’s Type Tool to create text and adjust its font, color and opacity. You’ll also learn an easy way to create and manipulate blocks of color in your Photoshop image.

Watch the video above, then download the Photoshop file.

Skills Challenge #2

Complete the following challenge to apply the skills you’ve just learned in a project.

Time: 10-15 minutes

Keep learning with LinkedIn Learning

Introducing Photoshop: Photography

Let LinkedIn Learning pick up where Mike leaves off to help you build skills in cropping, resizing and other common techniques for photographers.

Introducing Photoshop: Design

This LinkedIn Learning course builds on your new skills by adding new ways to select and format your images as well as new concepts like masking.